A roof replacement is one of the most significant home improvement projects a homeowner can undertake. While it may feel overwhelming at first, knowing what to expect can help make the process smooth, predictable, and even enjoyable. Roof replacement not only enhances your home’s curb appeal but also improves energy efficiency, protects your investment, and increases long-term property value. Whether you’re preparing for your first replacement or simply curious about the process, this guide covers each stage so you can move forward with confidence.
Inspecting and Consultation
Every roof replacement begins with a professional inspection. A roofing contractor will examine your roof for signs of aging, damage, or structural issues. This includes checking shingles, flashing, decking, gutters, vents, and attic ventilation. They may take photos or videos to document their findings.
During this stage, you’ll discuss:
-
Material options (asphalt shingles, metal, tile, etc.)
-
Colors and styles
-
Project timeline
-
Expected costs and warranty options
This consultation is your opportunity to ask questions, compare materials, and clarify the scope of work. A reliable contractor will provide a detailed written estimate that outlines labor, materials, cleanup, and any additional repairs.
Preparing Your Home and Property
Once you approve the estimate and schedule the project, preparation begins. Before the crew arrives, you may be asked to take a few precautionary steps:
-
Move vehicles from the driveway so workers have room for equipment.
-
Cover or relocate outdoor items, such as patio furniture, potted plants, or grills.
-
Remove fragile items from interior walls, as vibrations from hammering can cause them to shift.
-
Protect items in your attic, since dust and debris may fall through during demolition.
The roofing team will also prepare by delivering materials in advance. Expect bundles of shingles, rolls of underlayment, tarps, and ladders to be staged neatly around your home the day before or morning of the project.
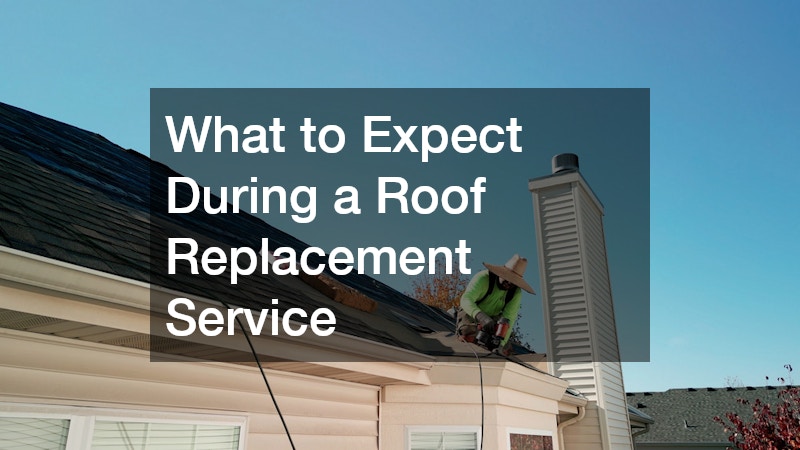
Removing the Old Roof
The first active phase of the project is the tear-off. The crew will cover landscaping and the surrounding area with tarps to catch falling debris. Using specialized tools, they strip away old shingles, underlayment, and damaged flashing.
This stage can be noisy and may cause some vibrations inside your home. It’s completely normal. Depending on your roof size, the tear-off may take a few hours to a full day.
Once the old materials are removed, the contractor will inspect the exposed decking for rot, soft spots, or structural damage. Any compromised sections will be replaced before installation begins.
Installing the New Roofing System
A roof replacement is more than just new shingles—it’s a layered system designed to protect your home from water, wind, and weather. Here’s what typically happens during installation:
-
Deck Preparation: Decking is cleaned and repaired as needed. A clean, strong base ensures your new roof performs correctly.
-
Waterproof Underlayment Application: A water-resistant or waterproof barrier is applied over the decking to prevent leaks caused by wind-driven rain and ice buildup.
-
Drip Edge and Flashing Installation: Drip edge metal is installed along the eaves and rakes. Flashing is installed around chimneys, vents, and roof valleys to direct water away from vulnerable joints.
-
Shingle (or Material) Installation: Shingles or metal panels are installed according to the manufacturer’s specifications. High-quality installation is vital to ensuring your new roof’s warranty stays valid.
-
Ventilation Improvements: Proper attic ventilation extends your roof’s life. The crew may install ridge vents, box vents, or other systems to ensure balanced airflow.
Throughout this stage, the crew works systematically to ensure each layer is sealed and aligned properly.
Cleaning Up and Final Inspection
A professional roofing company will leave your property as clean as—or cleaner than—it was before work began. Cleanup usually includes:
-
Magnetically sweeping your yard and driveway to remove nails
-
Clearing debris from shrubs and flowerbeds
-
Removing old materials and hauling them away
-
Cleaning out gutters and downspouts
Once cleanup is complete, the project manager or contractor will conduct a final inspection. They’ll walk the roof, examine flashing, check shingle alignment, and make sure ventilation components were installed correctly. You’ll typically review the results together and receive warranty information and maintenance recommendations.
A roof replacement may feel like a major undertaking, but understanding the process makes it far more manageable. From the initial inspection to the final cleanup, each step is designed to ensure your home receives the protection, beauty, and durability it deserves. With a professional roofing team and clear expectations, you can enjoy a smooth experience and a roof that will last for decades.