- Flat roofs are practical and stylish: They provide a modern aesthetic, are cost-effective, and allow for easy access for maintenance, solar panels, or rooftop features.
- Proper preparation is essential: Assess your home’s structure, check for damage, comply with building codes, and gather the right materials and tools before starting installation.
- Choosing the right material matters: EPDM, TPO, Modified Bitumen, and PVC each have unique advantages, installation methods, and lifespan considerations.
- Installation requires careful steps: Remove the old roof, install underlayment, add insulation, apply the roofing material correctly, and secure flashing and roof edges to prevent leaks.
- Drainage is critical: Even flat roofs need a slight slope, drains, or scuppers to prevent pooling water and reduce the risk of damage.
- Maintenance extends roof life: Regular inspections, debris removal, seam and flashing checks, and reapplying protective coatings help prevent costly repairs.
- DIY vs. professional installation: While DIY is possible for experienced homeowners, professional installation ensures proper construction, warranty coverage, and long-term durability.
Flat roofs are becoming increasingly popular in modern homes, offering sleek design, cost-efficiency, and the opportunity for creative outdoor spaces. But if you’re a homeowner considering a flat roof, you might be wondering: how complicated is installation, what materials should I use, and what maintenance is required to keep it lasting for years? This guide will walk you through everything you need to know about flat roof installation, from start to finish.
What Is a Flat Roof and Why Choose One?

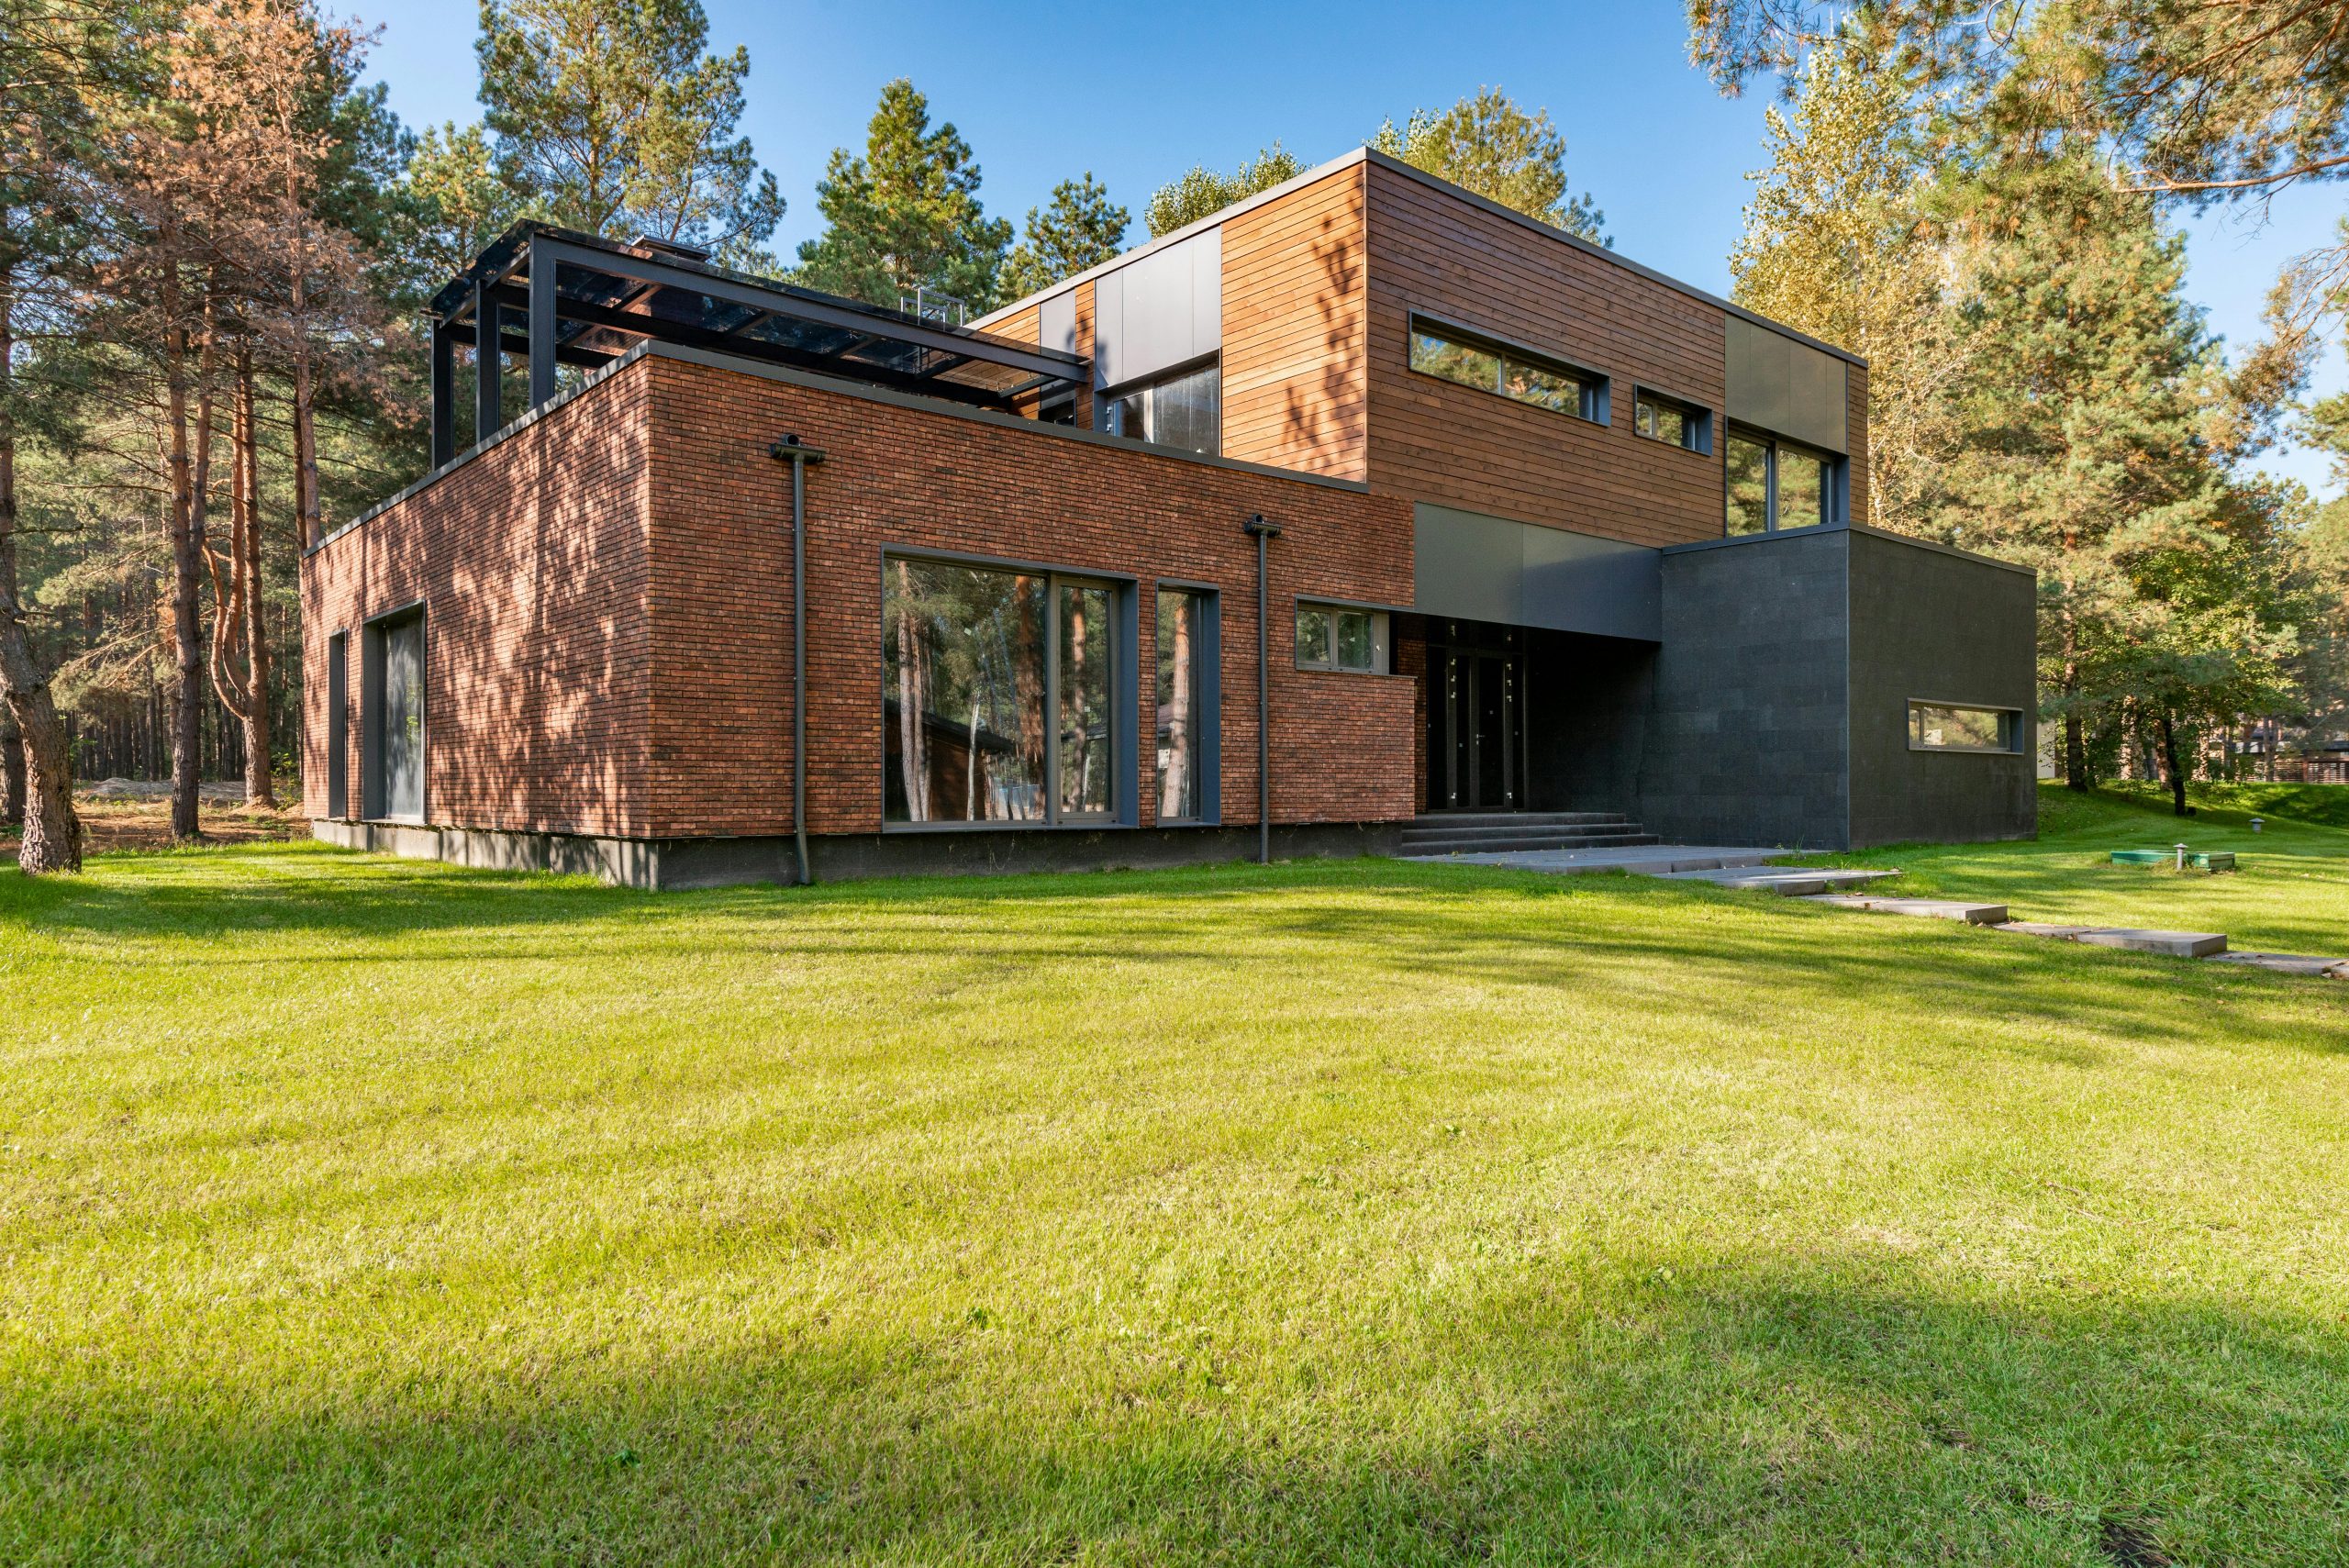
A flat roof is exactly what it sounds like—a roof with a very low slope, typically between 1/4 inch and 1/2 inch per foot. Unlike traditional pitched roofs that allow water to flow quickly off the surface, flat roofs appear almost level but are carefully engineered to drain water efficiently using scuppers, internal drains, or a slight slope toward gutters.
Flat roofs have been a popular choice for commercial buildings for decades, but more homeowners are embracing them for residential use because they offer practical benefits and a modern aesthetic. Understanding both the advantages and potential drawbacks will help you decide if a flat roof is the right choice for your home.
Advantages of a Flat Roof
- Cost-effective: Flat roofs require fewer materials than traditional pitched roofs. There’s less wood framing and fewer shingles, which makes them an affordable choice for homeowners on a budget.
- Easy access: The level surface makes it easier and safer to access for maintenance, cleaning gutters, or installing rooftop features like HVAC units, solar panels, or even rooftop gardens and decks.
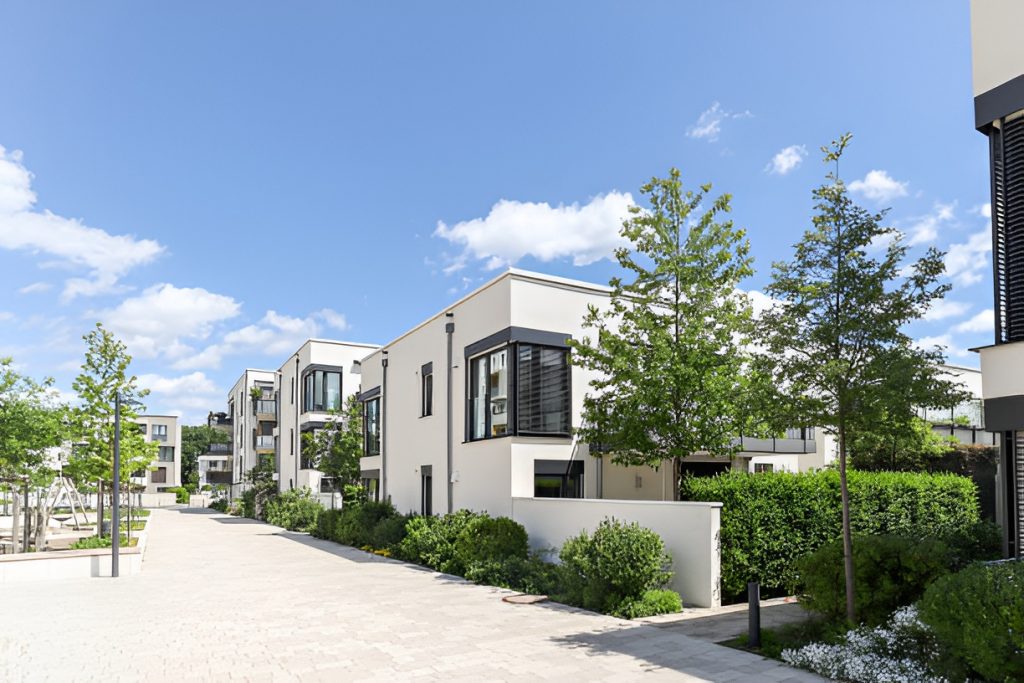
- Modern look: A flat roof can give your home a sleek, minimalist appearance. This is especially appealing for modern architectural styles where clean lines are a priority.
- Energy-efficient: Flat roofs are ideal for reflective coatings and additional insulation layers, which can reduce cooling and heating costs. You can also use the surface to install solar panels without worrying about roof pitch.
Drawbacks to Consider
- Drainage issues: Flat roofs rely on proper engineering for water drainage. Without adequate slope and drainage systems, water can pool and increase the risk of leaks or structural damage over time.
- Maintenance needs: Because water pooling is a concern, flat roofs require regular inspections, debris removal, and occasional maintenance to stay in top condition.
- Material limitations: Not all roofing materials are suitable for flat applications. Some traditional shingles or tiles won’t perform well on a near-level surface, so you need to select products specifically designed for flat roofing.
By weighing these pros and cons carefully, you can determine whether a flat roof meets your needs, both aesthetically and functionally.
How to Prepare for Flat Roof Installation
Preparation is crucial for a successful flat roof installation. Skipping any of these steps can result in leaks, uneven surfaces, or even structural problems. Here’s what you need to know before laying your first layer.
Assess Your Home’s Structure
Before installation, it’s important to ensure your home can support the weight and design of a flat roof:
- Check roof framing: Some homes built for pitched roofs may require additional reinforcement to handle the load of a flat roof plus insulation, decking, and roofing material.
- Inspect roof sheathing: Look for signs of rot, water damage, or structural weakness. Any compromised wood panels must be replaced before you install a new roof.
- Review local codes: Building regulations vary by city and state. Some areas may have specific requirements for drainage, fire ratings, or insulation levels for flat roofs.
Skipping this evaluation can lead to structural issues or code violations down the line.
Choose the Right Material
Selecting the right roofing material is one of the most important decisions you’ll make. Consider your budget, climate, and expected roof lifespan:
- EPDM Rubber: Flexible and durable, EPDM is resistant to UV radiation and ideal for areas with extreme temperatures. It comes in large sheets, minimizing seams that could leak.
- TPO (Thermoplastic Polyolefin): Lightweight, reflective, and energy-efficient, TPO is excellent for hot climates. It is heat-welded at seams, creating a strong, waterproof layer.
- Modified Bitumen: Asphalt-based and installed in layers, this material is resistant to foot traffic and punctures. It can be applied with a torch or peel-and-stick adhesive.
- PVC Roofing: Highly durable and resistant to chemical and fire damage, PVC is a great choice for long-term installations. It can be heat-welded for a seamless finish.
Each material has its own installation method and maintenance requirements, so choose wisely.
Gather Tools and Supplies
Having the right tools on hand before starting your flat roof installation will save time and prevent mistakes:
- Roofing membrane or your chosen material
- Roofing adhesive or mechanical fasteners
- Rollers and brushes for smoothing membranes
- Utility knife, measuring tape, and chalk line
- Protective gloves, eye protection, and safety harnesses
Preparing tools and materials in advance ensures a smooth and safe installation.
Step 1: Remove the Old Roof
If you’re replacing an existing roof, the first step is to remove the old materials and inspect the underlying structure.
- Strip the old surface: Remove shingles, membranes, or any other roofing layers.
- Check for damage: Look for rotten wood, soft spots, or structural issues. Repair or replace any compromised areas before proceeding.
- Clean thoroughly: Sweep away debris, dirt, and dust. A clean surface is essential for proper adhesion and prevents air pockets under the new roofing material.
Skipping proper removal and inspection can lead to leaks, uneven surfaces, or premature material failure.
Step 2: Install the Underlayment
Underlayment acts as a second line of defense against water infiltration. Proper installation is critical.
- Lay waterproof membrane: Roll out roofing felt or a synthetic waterproof barrier over the entire roof surface.
- Overlap seams: Each seam should overlap by at least 4 inches to prevent water from seeping through.
- Secure properly: Depending on the material, use nails, screws, or adhesive to fasten the underlayment.
A high-quality underlayment will protect your flat roof from leaks and add durability.
Step 3: Install the Insulation
Insulation improves energy efficiency and helps maintain a consistent indoor temperature. Proper placement is key.
- Rigid foam boards: Lightweight, easy to cut, and effective at reducing heat transfer.
- Spray foam: Excellent for sealing gaps and providing continuous insulation, but usually requires professional application.
- Multiple layers: Layering boards or foam sheets can improve thermal performance and prevent cold spots.
Ensure insulation boards fit tightly without gaps, and secure them to the roof deck for a stable, energy-efficient roof.
Step 4: Apply the Roofing Material
This is the step that makes your roof waterproof and durable. Methods vary depending on the chosen material.
For EPDM or TPO Membranes
- Roll out the membrane across the prepared surface.
- Apply adhesive or secure with mechanical fasteners.
- Smooth out air bubbles using a roller to create a seamless finish.
For Modified Bitumen
- Apply layers according to the manufacturer’s instructions, using a torch or peel-and-stick method.
- Carefully overlap seams and use a roller to press the material down.
For PVC Roofing
- Heat-weld seams to create a single, waterproof layer.
- Ensure all edges are tightly sealed around vents, chimneys, and walls.
Correct installation is essential to prevent leaks and extend the lifespan of your roof.
How to Handle Flashing and Roof Edges
Flashing seals areas prone to water infiltration, including roof edges, joints, and penetrations.
- Install metal or rubber flashing along all roof edges.
- Seal joints with waterproof caulking or adhesives designed for roofing.
- Reinforce corners, as these are common leak points.
Proper flashing protects your roof from water damage and increases durability.
Step 5: Check Roof Drainage
Even a flat roof needs a slight slope to channel water away.
- Install internal drains or scuppers at low points to prevent pooling.
- Use gutters and downspouts to direct water away from your foundation.
- Ensure the roof surface slopes slightly toward drainage points.
Proper drainage prevents water damage, leaks, and structural problems over time.
How Long Does Flat Roof Installation Take?
The timeline varies depending on materials, size, and complexity:
- Small residential roof: 2–4 days
- Medium roof: 1–2 weeks
- Large or complex projects: 3+ weeks
Weather conditions and crew experience also affect timing, so plan accordingly.
Cost Considerations for Flat Roof Installation
Flat roof costs depend on materials, labor, and location. Here’s a general breakdown:
- EPDM: $5–$8 per square foot
- TPO: $6–$9 per square foot
- Modified Bitumen: $7–$10 per square foot
- PVC: $8–$12 per square foot
Labor can add 30–50% to material costs. Additional expenses may include insulation, flashing, and permits.
DIY vs. Professional Installation
While some homeowners tackle flat roof installation themselves, it’s not always recommended.
DIY Pros
- Lower cost
- Learning experience
- Complete control over the project
DIY Cons
- Steep learning curve
- Risk of leaks or structural issues
- Limited warranty options
Hiring a professional ensures proper installation, warranty coverage, and peace of mind.
Maintenance Tips After Installation
Even the best-installed flat roof isn’t entirely maintenance-free. Regular care is essential to ensure it lasts 20 years or more and continues to perform reliably. By setting up a routine inspection and maintenance schedule, you can catch small issues before they become costly problems.
Inspect Your Roof Regularly
- Check your roof at least every six months, and after any major storms or heavy winds.
- Look for standing water, cracks, blisters, or bubbles in the roofing membrane.
- Pay close attention to areas around vents, chimneys, and skylights where leaks are more likely to develop.
- Document what you see with photos so you can track changes over time.
Keep Drains and Gutters Clear
- Flat roofs often have internal drains or scuppers designed to channel water off the roof.
- Remove leaves, dirt, and debris regularly to prevent clogs.
- Ensure gutters and downspouts are free-flowing to keep water moving away from your foundation.
- Neglecting drainage is one of the leading causes of flat roof damage.
Check Seams and Flashing
- Inspect seams and flashing along roof edges, penetrations, and corners.
- Look for cracks, separation, or signs of wear that could allow water to seep in.
- Seal small gaps immediately with a compatible roofing adhesive or sealant.
- Reinforce areas that appear weakened or exposed to frequent water pooling.
Reapply Protective Coatings
- If your flat roof has a reflective or protective coating, reapply it as recommended by the manufacturer (usually every few years).
- Coatings help prevent UV damage, reduce heat absorption, and extend the life of the roofing material.
- Choose a high-quality coating suitable for your roof type, and follow application instructions carefully.
Monitor for Long-Term Issues
- Keep an eye on areas where water tends to pool; persistent ponding can shorten the lifespan of any flat roof.
- Check for moss, algae, or mold growth in shaded areas, especially in humid climates.
- Schedule professional inspections every few years to ensure the structure and membrane remain in good condition.
Common Questions About Flat Roof Installation
Will a Flat Roof Leak More Than a Sloped Roof?
Flat roofs are engineered to drain efficiently, so if installed correctly, leaks are rare. The key is proper flashing, membrane, and slope.
Can I Install Solar Panels on a Flat Roof?
Yes. Flat roofs are ideal for solar panels because you can angle them to maximize sun exposure. Just ensure your roof structure supports the additional weight.
How Long Will a Flat Roof Last?
Depending on the material:
- EPDM: 20–30 years
- TPO: 20–25 years
- Modified Bitumen: 15–20 years
- PVC: 25–30 years
Regular maintenance helps reach the upper end of these ranges.
Wrapping It Up
Flat roofs offer a modern, versatile, and cost-effective option for homeowners, but successful installation requires planning, the right materials, and careful execution. Whether you decide to tackle the project yourself or hire a professional, understanding the step-by-step process will help you make informed decisions and enjoy a durable, stylish roof for years to come.
By following this guide, you now have the knowledge to confidently plan, budget, and install a flat roof while avoiding common pitfalls. Proper preparation, careful installation, and ongoing maintenance are the keys to a roof that performs beautifully and lasts decades.