Your home is your sanctuary, and the most critical line of defense protecting it from the elements is right above your head. Over time, harsh weather, fluctuating temperatures, and general wear and tear take their toll on even the most durable structural elements. Eventually, every homeowner will face the significant milestone of a complete roof replacement. While it can feel like a daunting financial and logistical undertaking, approaching the project with the right knowledge transforms it from a stressful chore into a highly valuable home upgrade.
This guide will walk you through the essential steps—from spotting early warning signs to selecting the perfect materials—ensuring your home remains safe, energy-efficient, and structurally sound for decades to come.
Recognizing the Signs of a Failing System
How do you know when a simple patch job or localized repair is no longer sufficient? Age is often the very first indicator; most standard asphalt shingles have a practical lifespan of roughly 20 to 25 years. If your home’s exterior protection is approaching or exceeding this age, it is time to start paying much closer attention to its condition.
Begin by performing a visual inspection from the ground. Look for shingles that are curling at the edges, cracking down the middle, or entirely missing from the deck. Check your gutters for an excessive accumulation of granules, which strongly indicates the protective weather layer is deteriorating rapidly. Inside your home, head up to the attic on a bright, sunny day. If you can see daylight piercing through the boards, or if you notice dark water stains and active leaks during a rainstorm, the structural integrity has already been compromised.
Selecting the Right Materials for Your Climate
Once you have determined that a full exterior overhaul is necessary, the next major decision involves choosing the best possible materials. The market offers a diverse array of options, each with its own unique aesthetic appeal, durability rating, and long-term value.
- Asphalt Shingles
- Metal Roofing
- Clay and Concrete Tiles
- Slate
When undertaking a roof replacement, always consider your local weather patterns, neighborhood aesthetics, and your long-term residency plans. Investing in higher-quality materials often pays off dramatically in the long run through reduced maintenance costs and substantially increased property value.
Finding a Contractor You Can Trust
Even the highest quality slate or metal will fail prematurely if it is installed incorrectly. Therefore, finding a reputable, experienced professional is arguably the most critical step in the entire renovation process.
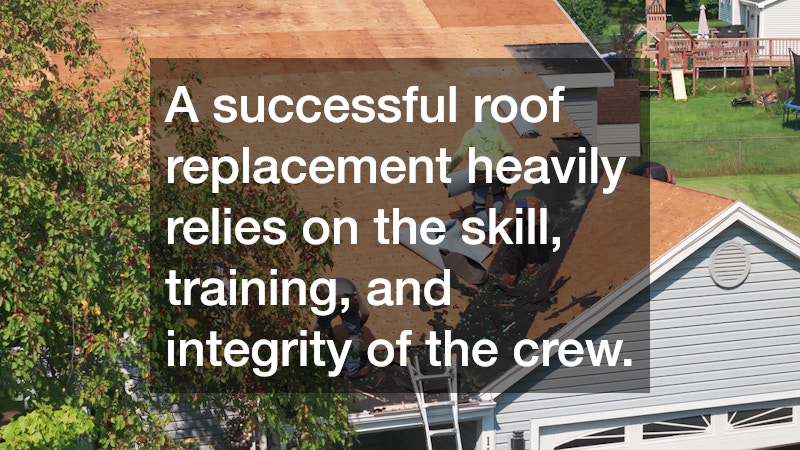
Start by asking friends, family, and trusted neighbors for recommendations based on their recent construction experiences. Once you have a shortlist of local candidates, rigorously verify their professional credentials. Ensure they are fully licensed and insured in your specific state, carrying both liability and worker’s compensation coverage. Ask for local references and take the time to read independent online reviews. A trustworthy contractor should always be willing to provide a highly detailed, written estimate that breaks down the exact costs of labor, materials, and disposal fees. Keep in mind that a successful roof replacement heavily relies on the skill, training, and integrity of the crew performing the manual labor.
Understanding the Timeline and Process
Knowing exactly what to expect on installation day can significantly reduce your anxiety. A standard residential project typically takes one to three full days, depending on the size of the house, the steepness of the pitch, and the prevailing weather conditions.
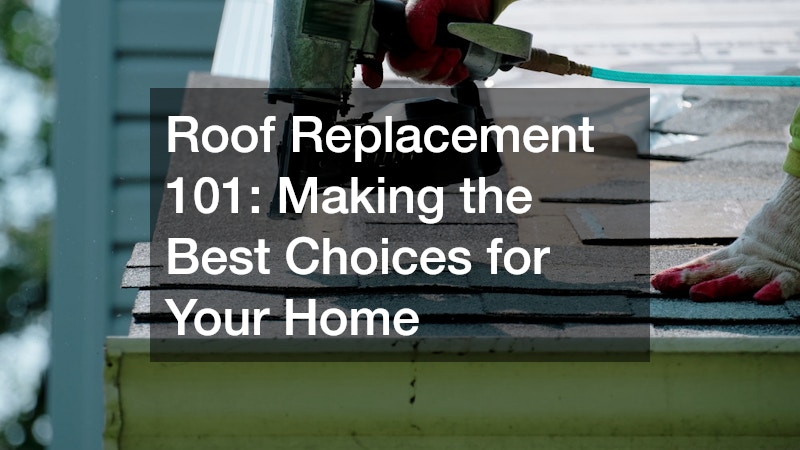
The construction crew will start by tearing off all the old materials down to the underlying wooden deck to inspect for hidden wood rot or structural decay. Any damaged plywood is replaced before laying down a highly water-resistant underlayment. Next comes the precise installation of the new exterior layer, meticulous flashing around vulnerable areas like chimneys and vents, and finally, the ridge capping. A professional crew will also ensure your landscaping is protected during the job with tarps and will conduct a thorough cleanup, sweeping the yard with heavy-duty magnetic tools to pick up stray nails. Preparing your home for this roof replacement phase involves moving vehicles out of the driveway to make room for dumpsters and securing loose items inside your home that might vibrate off walls due to the heavy hammering.
Long-Term Care and Maintenance
After the final inspection is passed and the crew has driven away, your home will look entirely refreshed and be fully protected. However, the work does not entirely stop there. To maximize the lifespan of your new investment, you must commit to a routine maintenance schedule.
Clean your gutters at least twice a year—typically in the spring and late fall—to prevent water from pooling and backing up under the delicate eaves. Trim back any overhanging tree branches to prevent them from scraping against the new shingles during high wind events. By scheduling periodic professional inspections every few years, you can catch minor issues before they escalate into major leaks, ensuring your recent roof replacement continues to safely shield your family for decades to come.