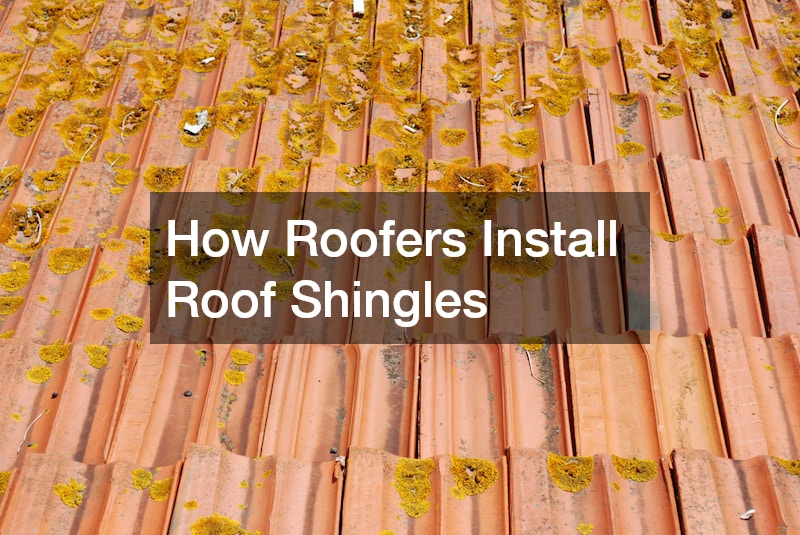
Understanding the basics of roof shingle installation ensures a durable, weather-resistant roof that protects your home for decades. Professional roofers follow precise steps, from preparation to finishing, to avoid leaks and extend lifespan.
What Tools and Materials Are Required for Roof Shingle Installation?
Essential Tools
Roofers rely on hammers or pneumatic nail guns, roofing nails, utility knives, chalk lines, ladders, and hand rollers for underlayment. These tools enable precise cutting, alignment, and fastening of shingles.
Types of Roof Shingles
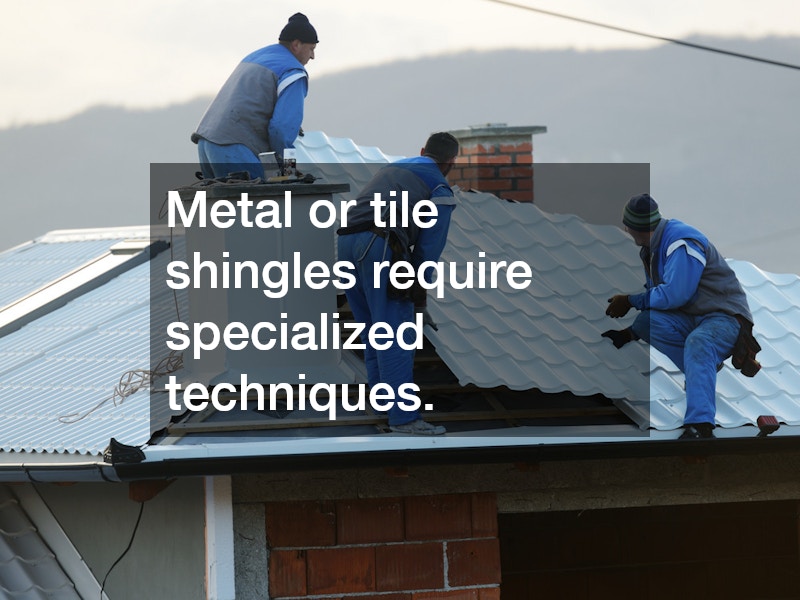
Asphalt shingles dominate due to their affordability and ease of installation. Metal or tile shingles require specialized techniques, like additional framing for weight, but asphalt suits most homes with standard nailing and overlapping.
Safety Equipment Considerations
Harness systems, non-slip boots, gloves, eye protection, and hard hats prevent falls and injuries on steep pitches. Roofers secure ladders and use warning lines on low-slope roofs. Regular training updates ensure roofers are aware of the latest safety protocols and best practices, further minimizing risks.
How Do Roofers Prepare the Roof for Shingles?
Inspecting the Roof Surface
Roofers check the deck for rot, soft spots, or damage, repairing or replacing plywood or sheathing as needed. They clear debris like nails or old granules to ensure a smooth base. Thorough inspection helps in identifying potential weak spots that might compromise the durability of the new roofing.
Removing Old Shingles
Using pry bars and shovels, roofers strip old shingles in clear weather, starting from the ridge downward. They dispose of debris safely, avoiding damage to the deck. This careful removal prevents unnecessary damage and prepares the deck for a fresh installation.
Underlayment Installation
Underlayment, like synthetic barriers or felt, goes over the deck after drip edge at eaves. Roofers snap chalk lines, overlap seams by 2-6 inches, and roll out sections, fastening edges to block water infiltration. Proper installation of underlayment is crucial to provide an additional layer of protection against the elements.
How Is the Shingle Installation Process Conducted?
Laying Out Shingles
Roofers install starter strips along eaves and rakes, offset 1/8 inch from drip edge for double overlap. They snap chalk lines for straight rows, starting at the bottom, with 5-5/8 inch exposure for 3-tab shingles, staggering joints diagonally upward. This precise layout ensures aesthetic alignment and enhances the roof’s resilience to weather extremities.
Proper Nailing Technique
Drive 4-6 galvanized nails per shingle—six on windward sides—1 inch above sealant strip, straight into the deck, not overdriven or angled. Nails must penetrate fully without exposing heads. Adhering to proper nailing guidelines increases the wind resistance of the shingles, preventing blow-offs.
Sealing and Finishing Touches
Embed shingles in roofing cement at valleys, edges, and penetrations like vents or chimneys. Install step flashing (nailed only on roof side), ridge caps bent over peaks with 1-3/4 inch nails, and seal overlaps. These sealing techniques are vital for preventing leaks and extending the roof’s lifespan.
What Are the Common Mistakes in Roof Shingle Installation?
Incorrect Shingle Alignment
Misaligned rows create uneven overlaps, leading to leaks and wind uplift. Prevent by chalk-snapping lines and checking exposure every few rows. Precision in alignment ensures longevity and stability of the roof structure.
Inadequate Ventilation
Poor airflow traps heat and moisture, curling shingles prematurely. Ensure ridge vents and soffit intake match manufacturer specs. Regular inspections can prevent costly repairs and enhance roof life.
Over or Under Nailing
Over-nailing cracks shingles; under-nailing allows uplift. Use exactly 4-6 nails per shingle, positioned per instructions, in high-wind zones. Adhering to nailing guidelines is crucial for withstanding severe weather conditions.
How Do Roofers Ensure Quality and Longevity of Installed Shingles?
Routine Inspections
Annual checks spot granule loss, cracks, or lifted tabs early, preventing major repairs.
Regular inspections ensure that small issues are addressed before they escalate into costly problems.
Maintenance Tips
Clear debris, trim overhanging branches, and re-seal loose shingles promptly. Avoid walking on roofs in heat to prevent damage.
Warranty and Guarantees
Some manufacterers offer 30-50 year warranties if installed per guidelines, including proper nailing and ventilation. Pros provide labor guarantees.
The installation of roof shingles demands skill, the right tools, and meticulous care to deliver lasting protection. Homeowners gain confidence knowing these pro techniques safeguard their investment. By understanding these detailed steps, homeowners can appreciate the craftsmanship involved and make informed decisions when selecting roofing professionals for their projects.